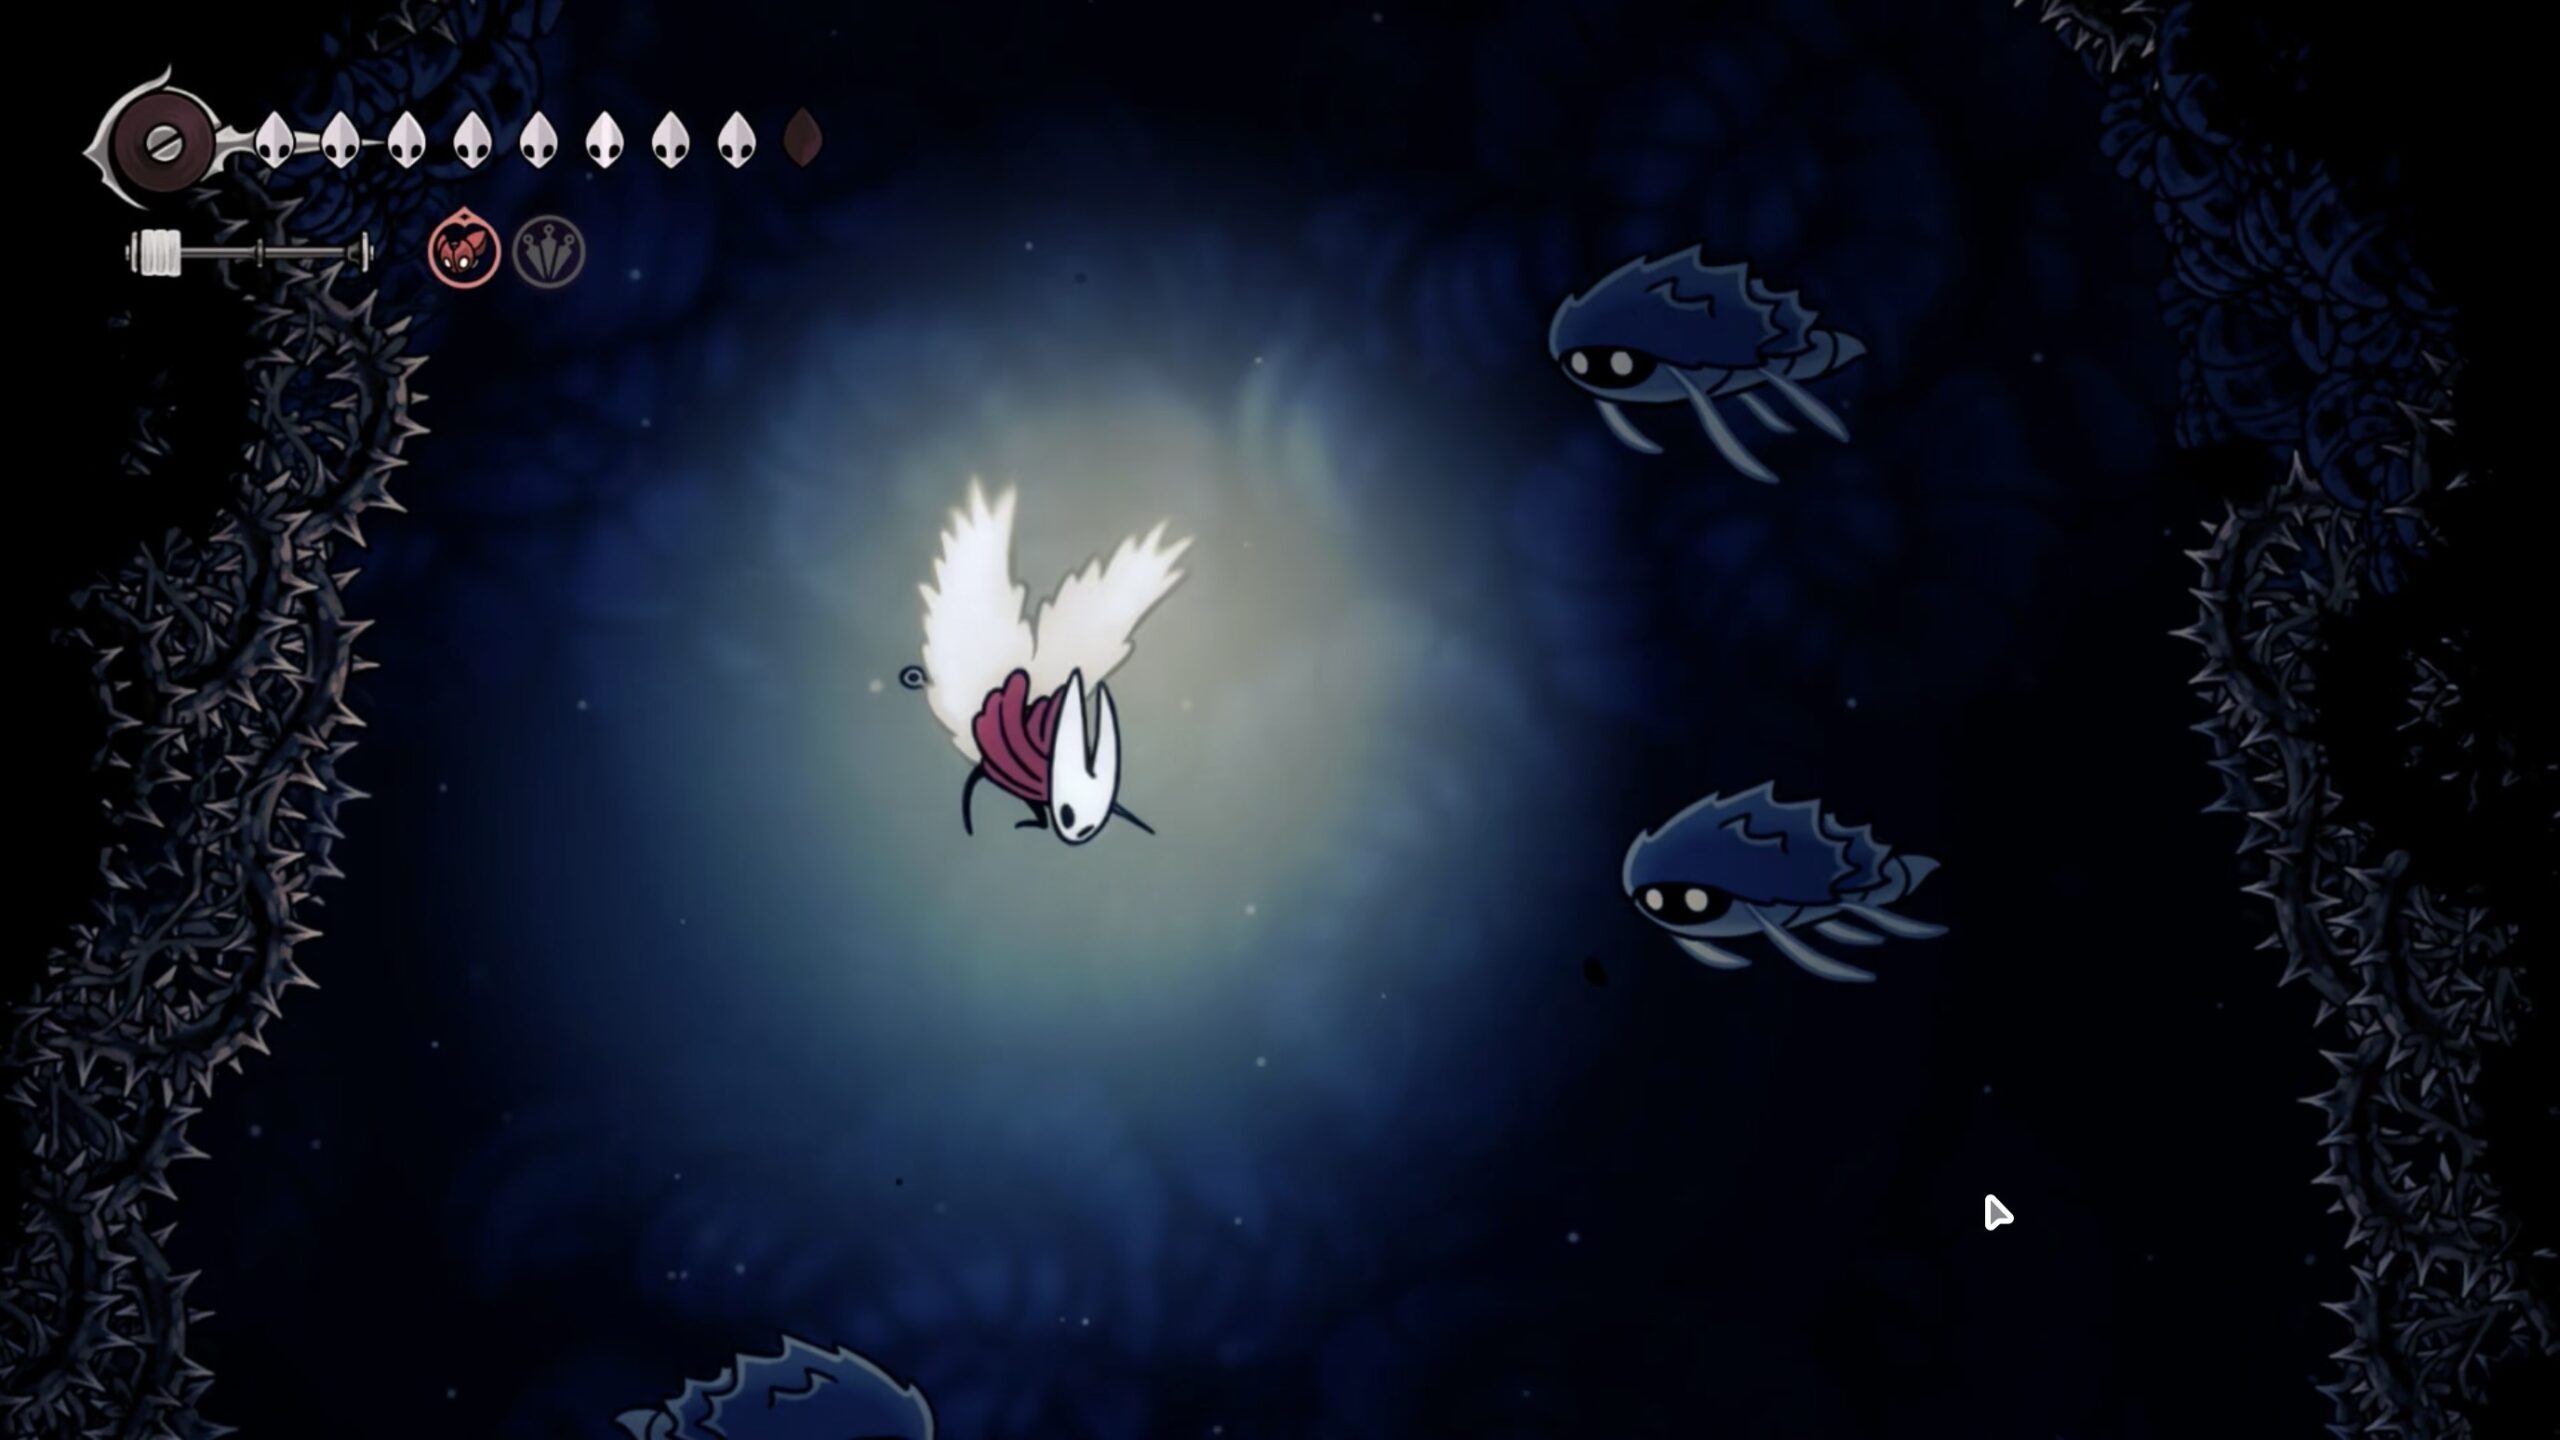

How to Open the Locked Bellhome in Greymoor in Hollow Knight Silksong
CLICK HERE: TO WATCH FULL VIDEO GUIDE
If you’ve reached the locked Bellhome in Greymoor, you’ve probably wondered what’s hiding behind the door.
Unlike many locked areas in Hollow Knight Silksong, this one can’t be opened with a key or by defeating a boss. Instead, it’s tied to one of the game’s longer side quest chains, eventually rewarding you with one of the most interesting Crests in the game.
In this guide, I’ll walk you through every step, from finding the Twisted Bud to completing the Rite of Rebirth and finally getting inside this locked Bellhome.
Quick Answer
To open the locked Bellhome in Greymoor, you need to:
- Collect the Twisted Bud in Bilewater.
- Get Cursed by completing Greyroot’s Rite of Rebirth quest.
- Become infected during the ritual.
- Return to the Bellhome while infected.
- Help Yarnaby recover her missing tool ( Completing Wayfarer Wish )
- Complete the operation to receive the Crest.
Where Is the Locked Bellhome?
If you haven’t found it yet, the Bellhome is located in Greymoor.
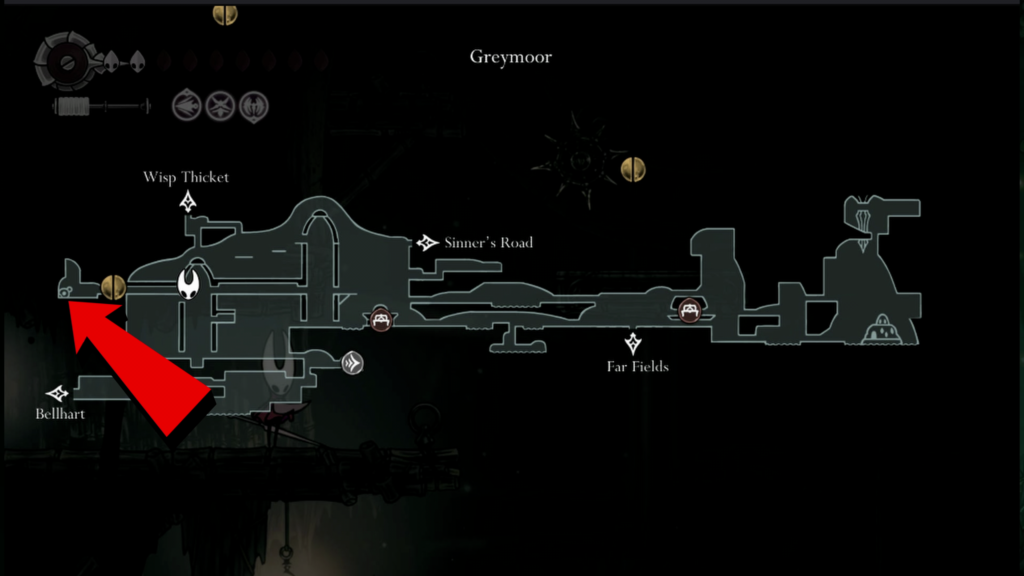
Although I’m completing this quest during Act 3, you can also finish it in Act 2. Just keep in mind that a few encounters later in the questline may play out slightly differently depending on which Act you’re in.
Step 1 – How to get Cursed (Find the Twisted Bud)
To get cursed, The first item you’ll need is the Twisted Bud.
To reach it, travel to Bilewater.
However, the section you’re looking for can’t be entered from below. Instead, you’ll need to approach it from Whispering Vault.
I’m assuming you’ve already explored Whispering Vault and unlocked its shortcuts, as they make the journey much quicker. If not, don’t worry; you can still reach the area using the normal route.
Start from the Grand Bellway, head towards First Shrine, and enter Whispering Vault. Continue heading right before dropping into Bilewater from above.
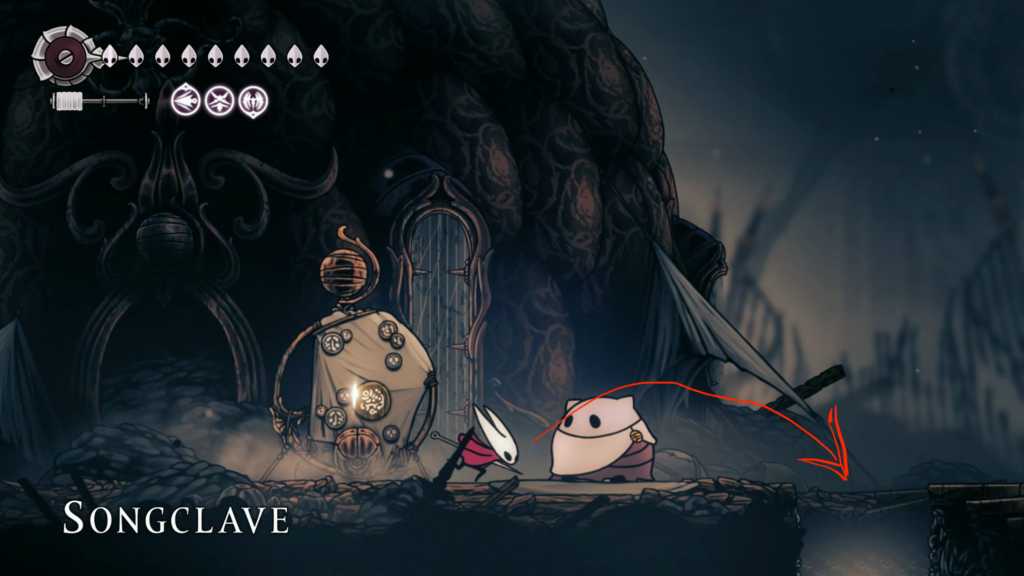
Caption: Enter Bilewater through Whispering Vault to reach the Twisted Bud.
Unlock the Shortcut First
Before heading towards the Twisted Bud, I highly recommend unlocking the nearby shortcut.
Doing this allows you to return through Bilewater Station, saving you from repeating the entire journey through Whispering Vault if you die.
It’s a small detour, but it’ll save you a lot of time later.
Why Do You Need the Twisted Bud?
This is where the quest starts to make sense.
If you remember the voice coming from inside the Bellhome, it says:
“Unless you’ve brought a worthy specimen with something truly nasty inside them.”
That line is the clue.
They’re looking for someone carrying a dangerous infection.
The Twisted Bud is exactly what allows that to happen.
Step 2 – Complete the Rite of Rebirth
Take the Twisted Bud to Greyroot in Shellwood.
Give her the Bud, speak to her again, and choose to assist with the Final Rite.
This begins the Rite of Rebirth wish.
Greyroot uses Hornet’s shell to complete the ritual, infecting Hornet in the process.

When the ritual finishes, you will be cursed and you’ll wake up inside the Chapel of the Witch. During this section, Hornet temporarily loses access to Bind and all of her equipped tools.
There’s also a shortcut connecting Shellwood to The Marrow that you may want to unlock before leaving.
Step 3 – Return to the Bellhome
Now that Hornet is infected, head back to the Bellhome in Greymoor.
This time, when you call out from outside, Hornet explains that she’s become the host of a vile infestation.
Finally…
The door opens.
Inside you’ll meet Yarnaby, a physician who specialises in treating infections.
Unfortunately, removing the infection isn’t quite that simple.
Before Yarnaby can help you, she needs her missing surgical tool.
Step 4 – Recover Yarnaby’s Missing Tool
Yarnaby’s tool is located in Sinner’s Road.
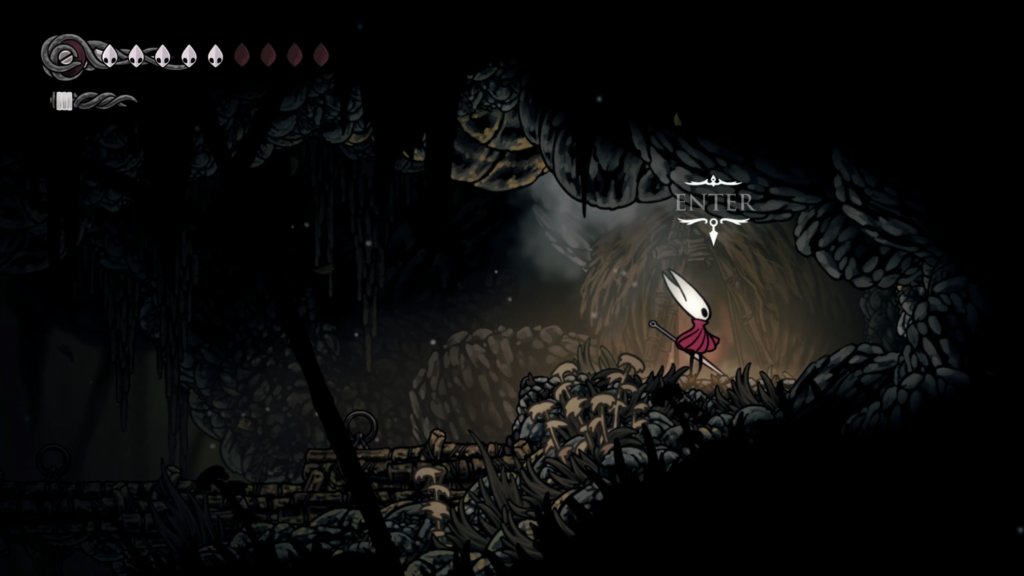
When I completed this during Act 3, the two Bugs that previously lived here were already dead, allowing me to simply collect the tool.
I’m not entirely sure whether this encounter plays out differently during Act 2, so your experience may vary slightly.
Once you’ve recovered the tool, return to Yarnaby in Greymoor.
Step 5 – Unlock the Crest
Hand the tool back to Yarnaby, and she’ll finally perform the operation.
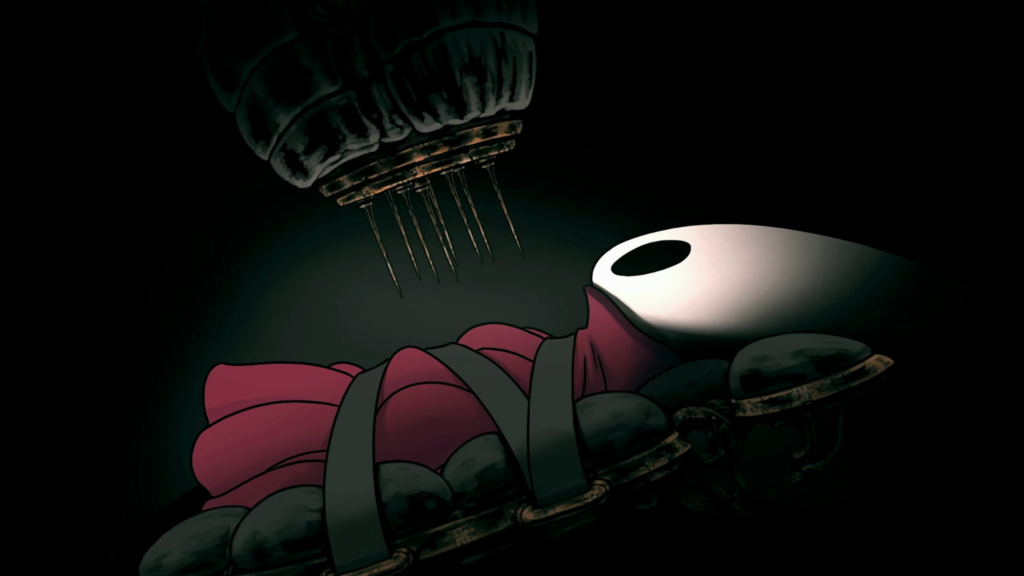
After removing the infection, you will unlock the Witch Crest.
This is the real reward behind the entire Locked Bellhome questline.
In my opinion, it’s absolutely worth the effort.
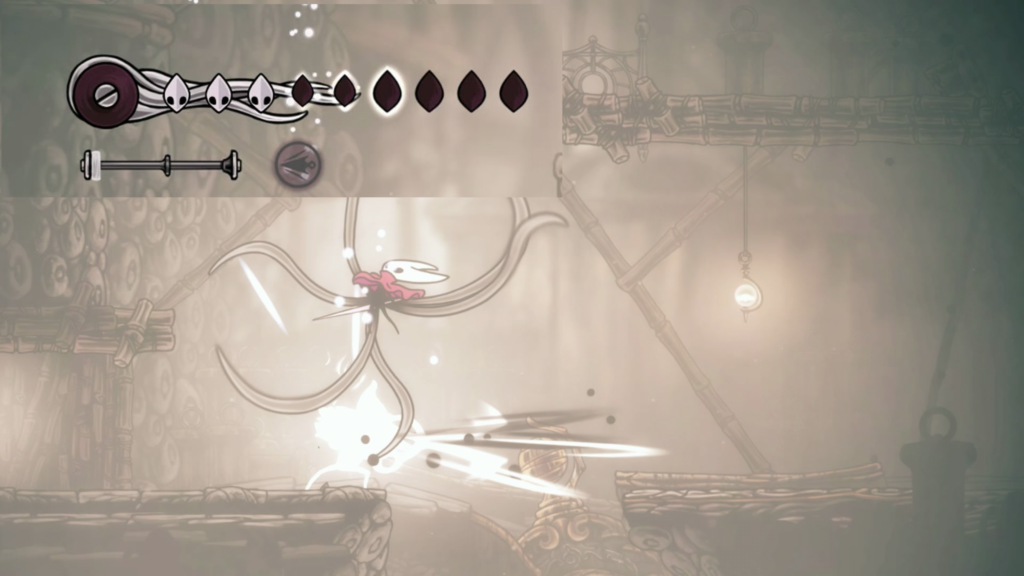
The Witch Crest gives you:
- Three Blue Tool slots
- Two Red Tool slots
- One Silk Skill slot
Its Bind ability is also incredibly useful, damaging nearby enemies while simultaneously restoring Hornet’s health.
It’s easily one of the strongest Crests I’ve used throughout Silksong.
Don’t Leave Immediately
Before leaving, make sure you speak with Yarnaby a few more times.
She has a surprisingly funny dialogue sequence that’s easy to miss if you walk straight out after receiving the Witch Crest.
Frequently Asked Questions
Can you open the Bellhome during Act 2?
Yes. The Bellhome can be opened during both Act 2 and Act 3, although some encounters may differ slightly.
Why won’t the Bellhome open?
The Bellhome only opens after Hornet becomes infected through the Rite of Rebirth quest.
What is behind the locked Bellhome?
Inside you’ll meet Yarnaby, recover her missing tool, remove the infection, and receive the Witch Crest.
Is the Witch Crest worth it?
Absolutely. It offers one of the most versatile Crest layouts in the game and a powerful Bind ability that damages enemies while restoring health.
Final Thoughts
The locked Bellhome initially feels like one of Silksong’s biggest mysteries, but once you understand how the Twisted Bud, Greyroot, and Yarnaby are all connected, the questline comes together really well.
It’s a longer side quest than most, but it’s also one of my favourites. Not only does it tell a memorable story, but it rewards you with the Witch Crest, which quickly became one of my favourite Crests to use throughout the game.
Watch the Full Video
If you’d rather follow the entire route step by step, watch my complete video guide below.